Payment / Currency
Overview
Your store payment and currency settings.
General > Store Price Display
Read this carefully! Specify display preference on how the price should display in your store. Use {PRICE} for the pricing position. Examples:
£{PRICE} - (For UK store, display example: £9.99)
{PRICE}€ - (For Euro based store, display example: 9.99€)
${PRICE}AUD - (For Australian based store, display example: $9.99AUD)
${PRICE} - (For US store, display example: $9.99)
£ = £
€ = €
$ = $
Character entities (as shown above) should be used or just static text, eg: GBP{PRICE}
DO NOT use literal symbols (£,€,$) or you may see a ? in your store inside a triangle, which indicates unicode problems.
General > Payment Mode
Test - For testing ONLY and will not process live payments (Sandbox mode). This should be the default until you are sure your store is working.
Live - Sets payment system for live payments. More info on the gateway setup page.
No Payment Gateway - Switches the gateway system off. If you prefer a manual payment option after sale. If this is chosen a box appears 'Payment Info - No Payment Gateway' where you should enter your payment information. This is shown to visitor after they complete a purchase. Tags can be used for personalisation and are shown beneath the box.
Gateway > Processing Currency
This is your processing currency.
Important: This currency should be supported by the payment gateway.
Check the payment system websites or view the docs to see which currencies are supported for each option.
Currencies can be added / edited in the following file:
control/currencies.php
Important: This currency should be supported by the payment gateway.
Check the payment system websites or view the docs to see which currencies are supported for each option.
Currencies can be added / edited in the following file:
control/currencies.php
Gateway > Log Responses
Do you want to log gateway responses? Should be set to yes during test mode to help identify issues.
Parameters
Add gateway parameters, this is used to send data to the payment gateway. For advanced users, you can use this option to send custom
options to the payment server or use as checks in other areas of the callback routine. Parameter values are masked for security. You can reveal the values via the icon. You can
disable having the eye reveal option available via the 'admin/control/options.php' file and the 'SHOW_PARAMETER_EYE_TOGGLE' constant. Note that the eye option is not shown in some examples.
Paypal Rest API expects three parameters, which is your client ID, your secret key and your webhook ID. THESE ARE REQUIRED. Example:
Param Name: client-id
Param Value: id123456
Param Name: secret
Param Value: id123456abcdef
Param Name: webhook-id
Param Value: id123456abcdefqrs
Example of adding above parameters can be seen below:
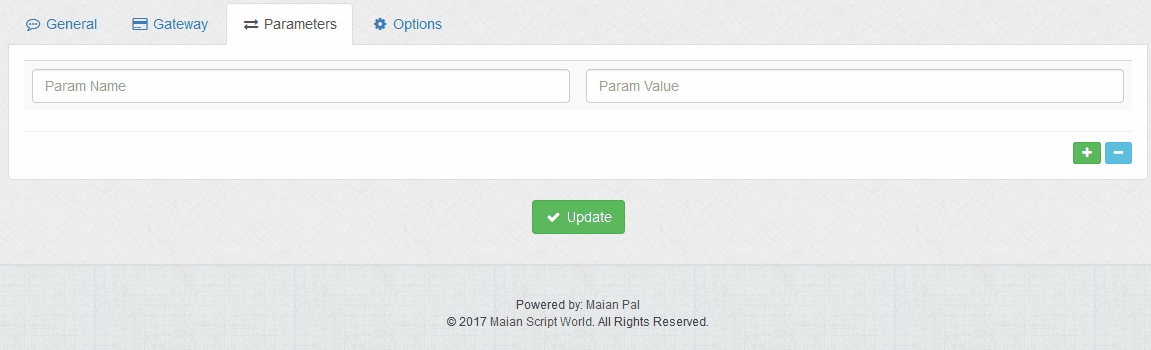
Parameters are not added until the 'Update' button is clicked. When parameters are added, a delete option appears on the right. To remove a row, click this icon to remove the row, then click 'Update'.
Paypal Rest API expects three parameters, which is your client ID, your secret key and your webhook ID. THESE ARE REQUIRED. Example:
Param Name: client-id
Param Value: id123456
Param Name: secret
Param Value: id123456abcdef
Param Name: webhook-id
Param Value: id123456abcdefqrs
Example of adding above parameters can be seen below:
Parameters are not added until the 'Update' button is clicked. When parameters are added, a delete option appears on the right. To remove a row, click this icon to remove the row, then click 'Update'.
Options > Start Invoice Number
By default invoices would start at 1. Enter higher number if you wish invoices to start at a different value.
Sales can be edited after completion with custom invoice values.
Sales can be edited after completion with custom invoice values.
Options > Billing Address on Checkout Screen
If enabled, billing address fields are also shown on checkout screen. Useful if required for accounting
purposes. Unless this is needed, you should only have shipping/delivery fields. Having unecessary fields
on the checkout screen can impact a buyers decision to proceed.